Guide for Building The Perfect Paver Patio
Our guide will help you plan your next paver patio project.
Getting Started
Know the Cost
Ways to Save Money and Time
Hire a Pro or DYI?
Hiring a Contractor
Ask the Right Questions
Contractor Checklist
Do it Yourself
Compare Suppliers
Supplier Questions
Project Checklist
Tools & Materials
Project Phases
Mantenance
Getting Started
Figure Out Your Project Cost
Get pricing and make a plan you can stick to.
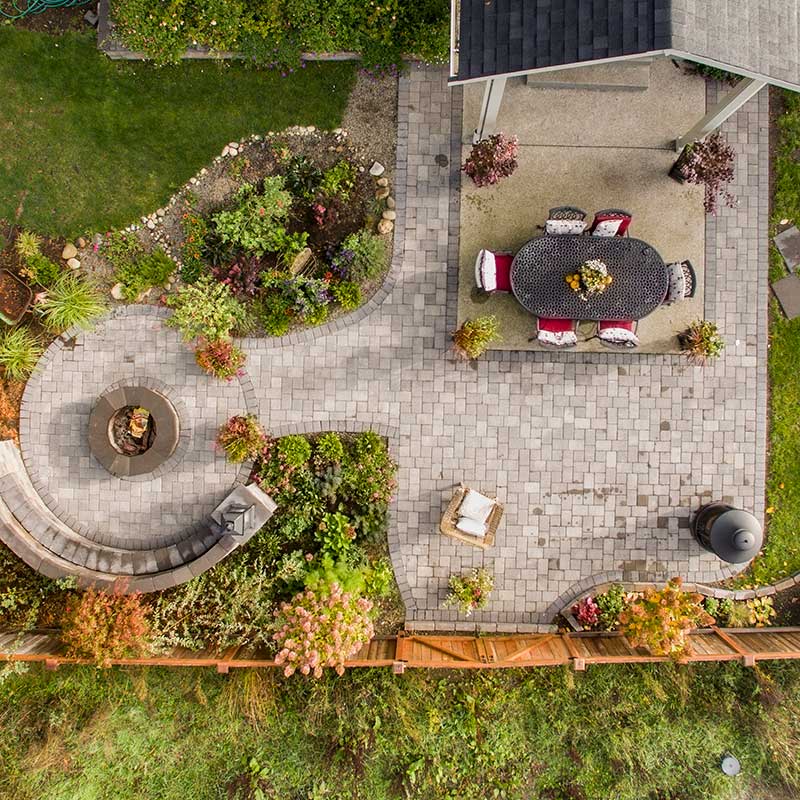
Patio | $$ |
Walkway | $ |
Driveway | $$$$ |
Retaining Wall | $$$ |
Steps | $ |
Fire Pit | $ |
Fireplace | $$$$ |
Outdoor Kitchen | $$$ |
Planter Box | $ |
Pool Coping | $ |
Pool Deck | $$$$ |
Discover Ways to Save Time & Money
Get more than one quote
If you get more than one quote for your paver project, you’ll be more confident in your decision. Whether or not you select the least expensive option isn’t all that important, but it will give you a good idea of what it should cost, and if you’re overpaying or underpaying.
Lay pavers yourself
Hiring labor will quickly increase the cost of your project. Labor is easily one of the most expensive parts of any paver job. If you can, it’ll save you money to lay the pavers yourself. Many of our customers hire us because they don’t have the expertise or time to lay their own paver patio.
Do one phase at a time
If you have a bigger project, considering splitting it into phases so you can plod along instead of doing it all at once. By splitting up your project, you may have more time to fund it and choose all your preferred materials.
Stick with a basic design
A basic design is typically less expensive and easier to install. For example, a straight walking path is simpler than a curved walkway. Also, square patios are easier to design and install compared to more elaborate shapes.
Should you Hire A Professional?
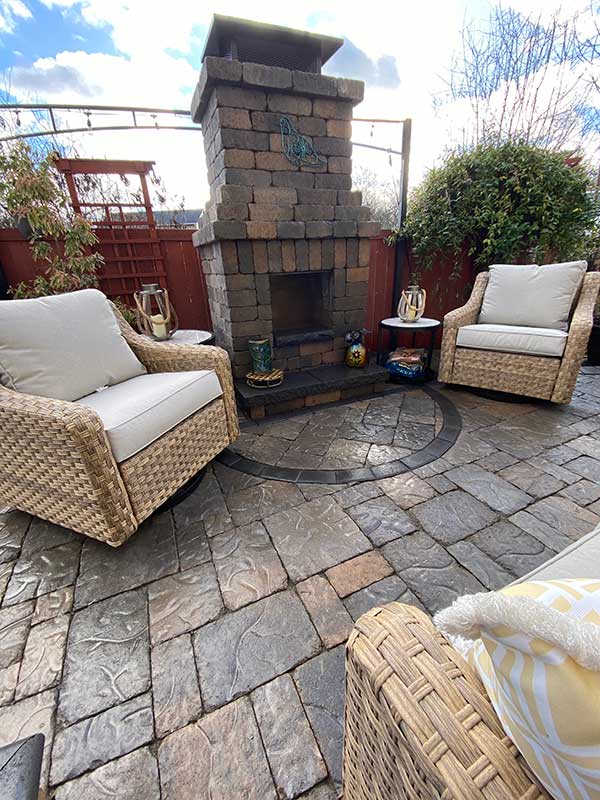
While some projects are good to DIY, some are better for a professional. Here’s how to know.
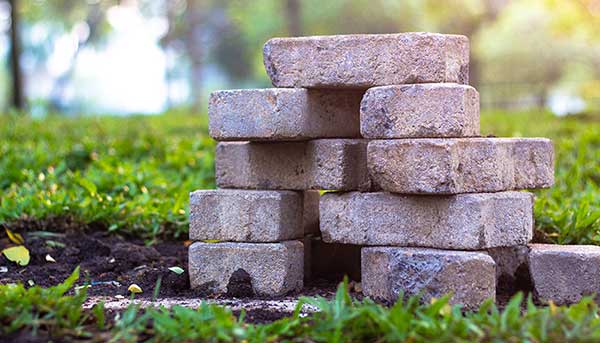
These questions will help you determine if you should hire a professional or if you’re able to install your paver patio youreslef. If you answer “yes” to most of the questions, it may be a project you can take on yourself.
• Do you have experience installing pavers?
• Are you okay with making mistakes and learning new skills?
• Are you able to lift heavy objects and transport aggregate?
• Are you able to source materials and complete the project?
• Are you trying to save as much money as possible?
• Do you have hardscaping tools and materials?
• Do you have a flexible time frame for your project?
Hiring a Contractor
Contractor Interview Questions
Ask the Right Questions
Ensure your project is a success by interviewing at least three contractors.
Question to Ask | What to Look for in Each Answer |
How long have you been installing pavers? | A trustworthy contractor should have installed a minimum of 10,000 square feet of pavers or installed pavers for a minimum of two years. |
Will you follow ICPI (Interlocking Concrete Pavement Institute) specifications for the installation? | You should expect the contractor to either be ICPI Certified or be able to provide documentation of their process and the exact specifications for your project. |
Do you guarantee your work for at least one year? | A contractor that is willing to come back and fix any flaws—and willing to provide documentation that they will follow through, is worth trusting. |
Will you return in one year to inspect it? | Your paver installer can’t do a shoddy job if they are required to come inspect it after some wear and tear. |
How long will the project take and what hours of the day will you be working? | Look for consistency and specifics, such as, “We’ll work on your project Monday through Friday 8 a.m. to 5 p.m. until it’s complete.” This is the sign of an organized and professional operator. An answer like “We’ll be in and out depending on the projects going on,” is a sign that your project will be an expression of their mess of a business. |
Do you have a CCB/LCB number and current liability insurance? | Your contractor should be insured for any damage or injuries that occur on your property—and be able to prove it. |
Please provide documentation that your contractor’s worker’s compensation insurance covers the whole job and crew. | A contractor that’s willing to provide this documentation, and has it onhand, is a good sign. Don’t trust anyone who doesn’t have or can’t prove worker’s comp insurance. |
Will you do a written, itemized proposal outlining the scope of work and terms of payment? | A detailed proposal, scope, and specifications for your specific project will give you confidence in the contractor and their work. However, a quick and dirty quote is a sign that the contractor doesn’t have the experience to back up their work, or they’re not thorough enough to critically think through the requirements of your project beforehand. |

Do it Yourself
Supplier Sales Questions
Ask the Right Questions
Ensure your project is a success by getting quotes from at least three suppliers.
Question to Ask | What to Look for in Each Answer |
Do you manufacture pavers or resell them? | It’s important to know if you’re working with a dealer or a manufacturer. Both are fine, just find out early so you know who made your product. |
Do you have an indoor or outdoor display so I can see your products in-context before I purchase? | Seeing the products in-person before you buy can really help you know if it’s right for you. |
Are your products manufactured under ASTM C-936 and ASTM C1372 -17 standards? | American Society for Testing and Materials set the standards for quality and safety in paving stone materials. Ensure your supplier provides quality materials. |
Do you offer bulk order discounts? | If you place a large enough order, the supplier should be willing to give you a bulk or contractor discount. |
Do you guarantee your product? If so, how long? | A guarantee or warranty is crucial. You want your pavers to last a lifetime, therefore a lifetime guarantee should be your aim. |
Will I have to pay to replace any product that is defective? | Material installed using their installation guidelines that proves to be defective, should be replaced without cost. |
If I pick up the material, will you help load it? | Paving stones and retaining wall blocks are very heavy. Your supplier should offer to load it using a forklift or trained staff. |
Do you deliver? | It’s easiest to get the product delivered if it’s a large project. Be sure to find out if they offer delivery, and if it’s included in the cost or an extra fee. |
Project Preparation Checklist
Consider Both The Opportunities And Challenges Of Your Project
Do a walkthrough of your project area and observe. Use the checklist below to consider all implications of your project.
Question to Ask | What to Look for in Each Answer |
Can you access the area easily? | It’s important that you, your contractor, and your supplier can access your area to deliver and install your paving stones. If it’s a difficult area to work in, is there a way to make it more accessible? |
Are there roots you’ll have to cut through to establish your base? | Roots won’t stop you, but they can create more work. Just be aware so you have the tools and the time to remove any roots. |
Do you know where utilities are, and where they aren’t? | Before you start your project, call 811 and get a locate on your utilities. This will help you know where you can place your project, and where you can dig when you’re ready to start. |
Where can you get gravel and sand? | In addition to paving stones and retaining wall blocks, you’ll need gravel and sand. Be sure you know where you’re going to get that before you start. |
If you need to return, how do you do that? | Be prepared to have leftover material at the end of your project. Know where you can return, recycle, or remove after the project is complete. |
If you need more material, what do you do? | Make sure you have available a truck, trailer, or know someone who does before you start because you might need it to get more supplies at some point in your project. |
Where are you going to put the dump truckload of material? | When your contractor has a plan, that should give you confidence to hire them. In their initial walkthrough of your project, they should have a good idea for where a good place to dump the material would be. |
Where are you going to put the product? | Just as it’s encouraging when your contractor has a plan for where to put the aggregate material, they should also have a plan for where to place the product. Be sure to have the conversation so you’re on the same page. |
Is your land level? | Plan for any grading that you’ll have to do as a part of your excavation phase. Know where you’ll slope your project for drainage. |
Is any additional drainage needed? | If your project is at the bottom of a slope or next to your house, prepare for any additional drainage needed, whether that’s a strip of permeable pavers, a dry well, or a french drain. |
Tools & Materials Checklist

Step | Tools | Materials |
Design | Pencil Graph Paper | None |
Layout | Measuring Tape White Marking Paint | None |
Square | Garden Stake Rubber Mallet String Line | None |
Grade | Line Level Permanent Marker | None |
Excavate | Shovel or Excavator Wheelbarrow Pickaxe | None |
Base | Shovel Wheelbarrow Concrete Placer or Rake Hand Tamper or Plate Compactor Flat Board | Geofabric Gravel |
Bedding | Shovel Wheelbarrow Concrete Placer or Rake 1 Screed Rails or PVC Flat Board | Concrete Sand |
Laying | Rubber mallet Hand trowel | Paving Stones or Retaining Wall Blocks |
Edging | For Concrete Edge Restraint or Perma Paver Edging: Wheelbarrow Shovel Hand Trowel For Plastic Edge Restraint or SnapEdge: Hand Trowel Rubber Mallet | Perma Paver Edging or Snap Edge |
Finish | Push broom Hand Tamper or Plate Compactor Leaf Blower Water Supply | Sweeping Sand or Polymeric Sand Sealer |
Project Phases: 10 Steps
Step 1:
Design
Measure out your area and draw a visual plan of your project to determine what you will need.
Step 6:
Set the Base
Place the ¾ minus gravel base, and compact to 3” from finished grade. The base needs to be smooth and even, as any surface imperfections will be obvious in the final product.
Step 2:
Layout
Spray paint design outline on the ground with marking paint, adding an extra 6” on all sides that need edge restraint. Use a string and stake or a garden hose to mark radiused corners.
Step 7:
Screed the Sand Bed
Screed sand to a uniform 1” depth, using 1” thick material (such as 1” metal tubing, square or round, or 3/4” PVC pipe) for guides.
Step 3:
Get It Square
Use a 3-4-5 right angle triangle to create a 90° corner to work from.
Step 8:
Lay the Stones
Starting at the 90° corner, lay the pavers, keeping the joint lines straight by using a string line. First click the stone tight against its neighbors, then drop it into place. Do not scoot pavers on the sand bed.
Step 4:
Set the Grade
In order to properly shed water, your project needs to be sloped away from any structures. Use a level (line or laser), to establish a finished grade slope of at least ⅛” per linear foot.
Step 9:
Install Edge Restraint
Set edge restraint on the gravel (remove excess bedding sand if necessary), secure using 10” spikes in every third hole, and compact the paving stones.
Step 5:
Excavate
Excavate soil 6”-8” below finished grade depending on your application type. Areas that will receive vehicular traffic will require more excavation than areas that only receive pedestrian traffic.
Step 10:
Finish
Sweep stone joints full of concrete sand and then compact again. Once you are done compacting, sweep off any remaining sand, pull up some chairs, and enjoy your new patio.
Maintenance Considerations
Pavers are tough and will last a long time. However, in order to help them last a lifetime, there are some maintenance tasks to complete and circumstances you will want to consider to get the most out of your hardscape.
Joints | The joints between your paving stones are the most important area of your pavers to keep maintained, for the structure and stability of your hardscape. Damp, shaded areas between stones, are prone to moss and weed growth. Insects sure love them too! |
Location | In some areas precautionary measures to avoid walking on your pavers with muddy shoes. Some soils have high iron content and will severely stain your paving stones. Some pavers are colored with iron oxide and the iron in the soil bonds molecularly with the iron in the pavers, resulting in an extremely difficult to remove the stain. |
Weather | In the Pacific Northwest, we’re known for having a moist and mucky climate. Ensure that you follow our maintenance checklist to regularly keep your pavers free of dirt and debris that leave organic stains if left to decompose. Additionally, moss and weeds will grow often, so ensure you’re using a paver cleaner or bleach rinse every Spring to ensure your hardscape is ready and looking good for Summer. |
Maintenance Checklist
After Installation | Monthly | Annually (Spring) | Every 3-4 Years | Every 5-10 Years |
Clean your pavers using a paver cleaner or bleach rinse. | Sweep, hose, or blow off your pavers using to keep dirt and debris from collecting and leaving organic stains. | Clean your pavers with a coarse-bristle broom and paver cleaner to keep them looking new. | Re-seal your hardscape. | Remove and replace any chipped or cracked pavers. |
Ensure your joints are full of joint or polymeric sand (or aggregates for permeable pavers). | Remove weeds between your joints by pulling them or using a weed preventative or weed killer. | Remove efflorescence, if any appears, by applying Muriatic Acid. | Spot replace base material or bedding if dips or rises occur. | |
Apply a sealer the day after the pavers have been cleaned. | Supplement the joints of your pavers with sweeping sand so they stay full and sturdy. | Replace plastic edge restraint or border stones if they’re sloughing off or loose. |
How We Install Pavers:

A: Paver Stones
B: Joint Sand Filler
Helps prevent cracks and shifting
C: Crushed Aggregate with Concrete Support Beam
Provides a solid substrate for pavers and drainage
D: Geotextile Fabric
Assists with drainage and soil stability
E: Compacted Sub-Soil
The proper preparation of the site and installation of the patio pavers is imperative to ensure longevity.
Reasons To Work With Sta-Built Construction:
-
Reasonably Priced for Excellent Workmanship
-
15 Year Workmanship Warranty on Craftsmanship
-
Free Estimates
-
Easy Financing Options
-
Specialized Contractor in the Hardscape Industry
-
A+ Rating with the Better Business Bureau
-
Fully Licensed and Insured
-
Customer Experience App
-
Dedicated Project Management Team
